1. Define a mood board of what you want to achieve the first thing you need to do is to have a clear idea of the style you want for the production. Create a mood board with reference images that inspire you and reflect the aesthetic you're aiming for. You can use Pinterest or make a collage with magazine clippings (super old school, but if you enjoy crafts, I highly recommend it). The idea is that it serves as a visual guide throughout the entire process, and you can also align this mood board with the other people involved in the photo session.
2. Select the team of people you’ll need A great photo session or production isn't achieved alone. You’ll need a team to support you. Depending on the size of the project, you may need:
- A photographer
- A makeup artist
- A stylist
- Production assistants
- A model This step is crucial and ties directly into the next point.
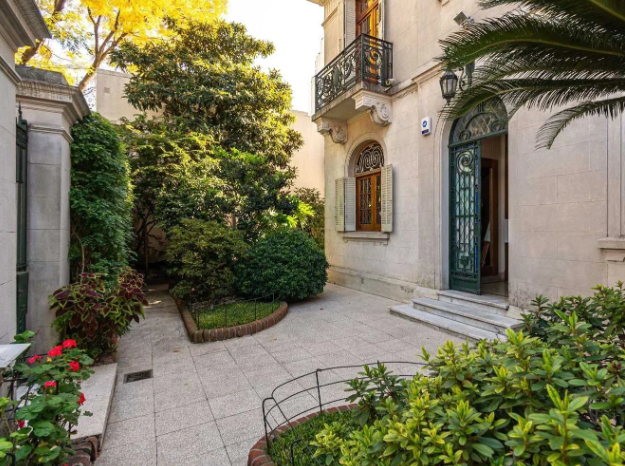
3. Find the perfect location The location is key, and depending on the type of content you're looking for, it could be the most important step. Here are some things to consider:
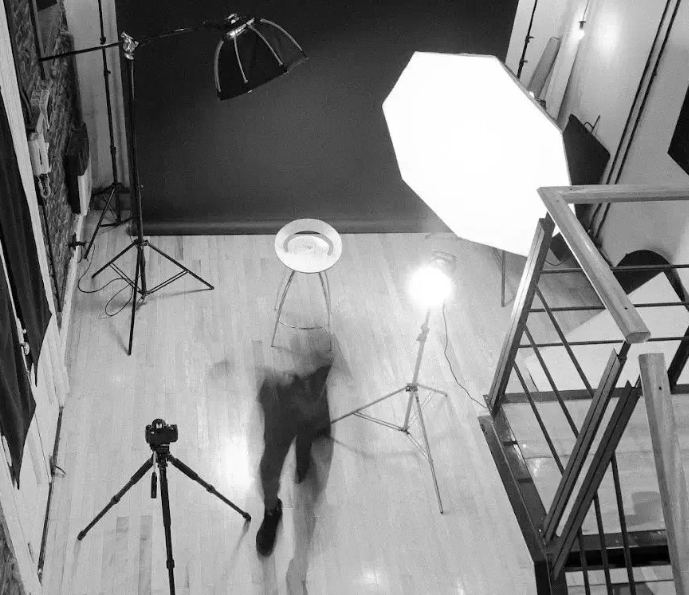
a. Lighting as a key factor: Natural light is always a great option, but if you're working indoors, make sure the location has good lighting or set up some lights. You can ask the owner of the space if it has good lighting, when the sun hits, or if they provide equipment like flashes to ensure lighting isn't a problem during the shoot.
b. The amount of time you’ll have at the location: Plan how much time you’ll need to avoid any issues and coordinate well with the space owner. It happens often that you think 2 hours will be plenty, but it isn’t. A good tip is to ask the people involved in the photo session to arrive 15 to 30 minutes before the shoot starts. Some locations have a lot of foot traffic, so it’s important to be precise with timing. Also, factor in the time it will take to set up lights and prepare the environment.
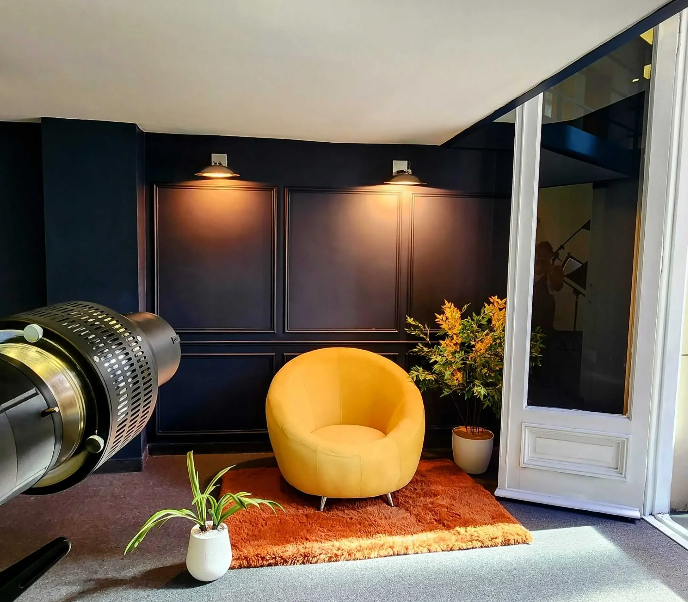
c. Items you'll need: Make a list of everything you’ll need for the set: backgrounds, furniture, accessories, decorations, etc. Make sure the space has everything required or that it’s easy to transport items to the location. With SpacePal, you have a chat feature that makes everything simpler. You can ask the space owner anything, from whether they have two-pronged outlets to whether there’s an elevator to move a large couch.

Find the perfect Studio in SpacePal
¡Start now!4. Align expectations with the team It’s essential to have clear expectations and goals. Talk with everyone involved to understand what they expect and communicate your expectations as well. If you’re working for a brand, it’s important to define what messages they want to convey and any specific requirements they may have. This will help avoid misunderstandings and ensure the final result meets expectations. Be as transparent as possible.
5. Shooting day The day of the shoot is here, and it’s important to stay organized, but if you’ve followed the previous steps, you’ve already done the hardest part. Make sure you have a clear schedule, and that everyone on the team is aware of their roles and responsibilities. Don’t forget to bring essential items like water, snacks, chargers, extra batteries, and anything else that might be needed. No one likes to run out for emergency supplies in the middle of a production.

6. Post-production Once the shoot is over, it's time for post-production or editing. This step deserves its own guide, but here’s a key tip: remember to stay consistent with the mood board and initial vision.
7. Delivery Finally, it’s time to deliver the work—the best part! Whether it’s for yourself or a brand/client, ask for feedback. It’s essential to avoid becoming biased. If it’s for a client, give them a review phase to ensure they’re satisfied with the result.
I hope this guide helps you plan your next photo session. Good luck, and may the great shots keep coming!


